Hello I finally made the video for D.I.Y. project how to make a mini blocking board for all of your crocheted/knitted small projects. ex. granny squares, hexagons, triangles, or any small yarn art project that doesn’t need a big blocking board to be blocked out on.
First let me tell you about why you would want to block out a yarn art project. The reason that you would want to block out your yarn art project is if it needs to be stretched out to the correct size, to make all of the crocheted/knitted pieces to be the same size, the knitted/crocheted piece got all bunched up some how , or doesn’t look the correct size to you. You then would want to block out the crocheted/knitted yarn project so it can be stretched out to the way that you would want it to look. That way you end up with a finished crocheted/knitted piece that looks the correct size/shape.
You can make a mini blocking board in less than 10 min. together with me on my video that is on YouTube by clicking on the link below or keep reading this blog. The written supply list & directions are here.
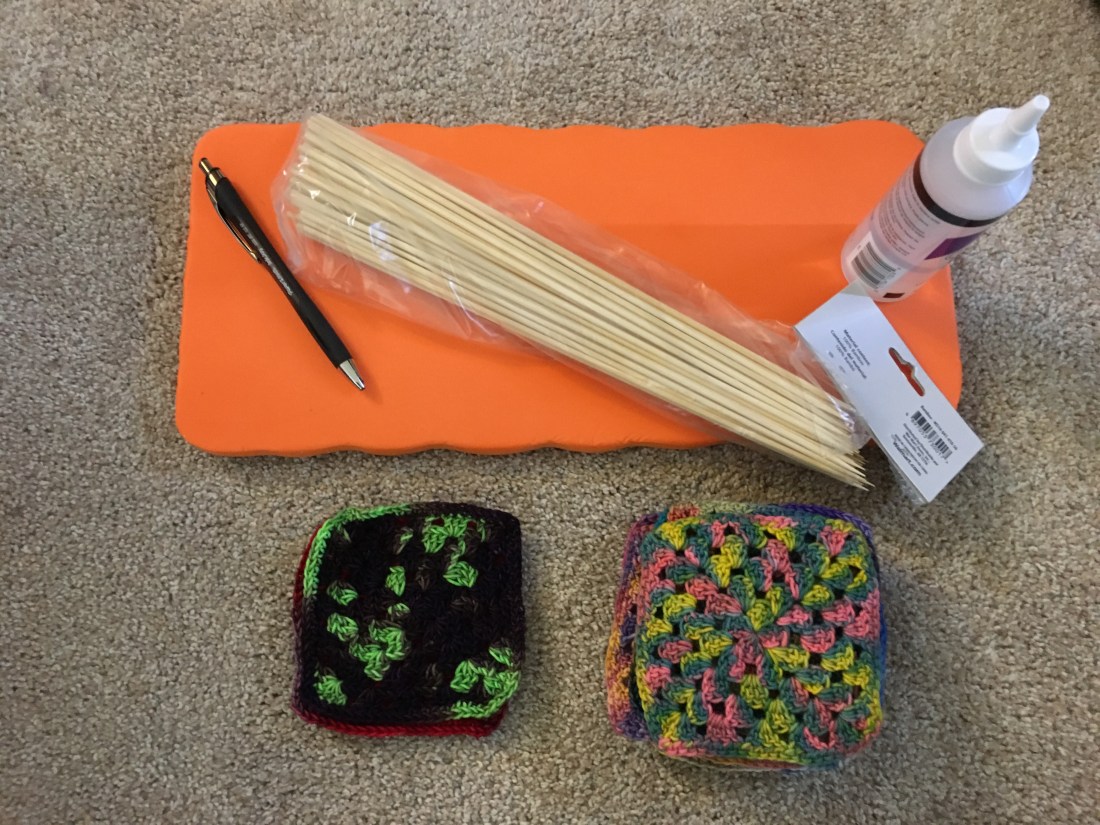
The supply’s that you will need to have on hand for the mini blocking board project are:
1) 1 Mini foam piece in the size that you would like for your project. (ex. rectangle mini size. ) I got my 4 pack of foam mats that are for if u need something to kneel on at amazon. Here is the link:
2) 4 Wooden sticks that are the length that you need for your project.
(ex. wooden skew’s for kabob’s )
3) Tape
4) Scissors
5) A pen or Ruler
6) Spray bottle or you can pre-soak your yarn project in a bowel of warm/room temp water for 20 min. Then take the yarn project out of the water and ring it out gently , wrap in a towel an lightly pat it dry. You still want your project to be damp not dripping wet ,if you would rather use this way over the spray bottle way to block the yarn project out.
7) Opt. Some kind of glue if you would like to make the sticks more stable.
You can get everything that you need for this project @ most craft stores as well as wall-mart, target, an other retail stores in your area.
Here is the Pic. of all the supply’s need for the project. (Don’t forget the scissors not in the pic.)


The Directions for the D.I.Y. mini blocking board project:
Step # 1 :
First you take your crochet/knitted project stretch/pat it down onto where it fits best on the foam piece. Then you take your pen poke it into each corner/ (or measure it out w/a ruler an mark it where each corner is.)
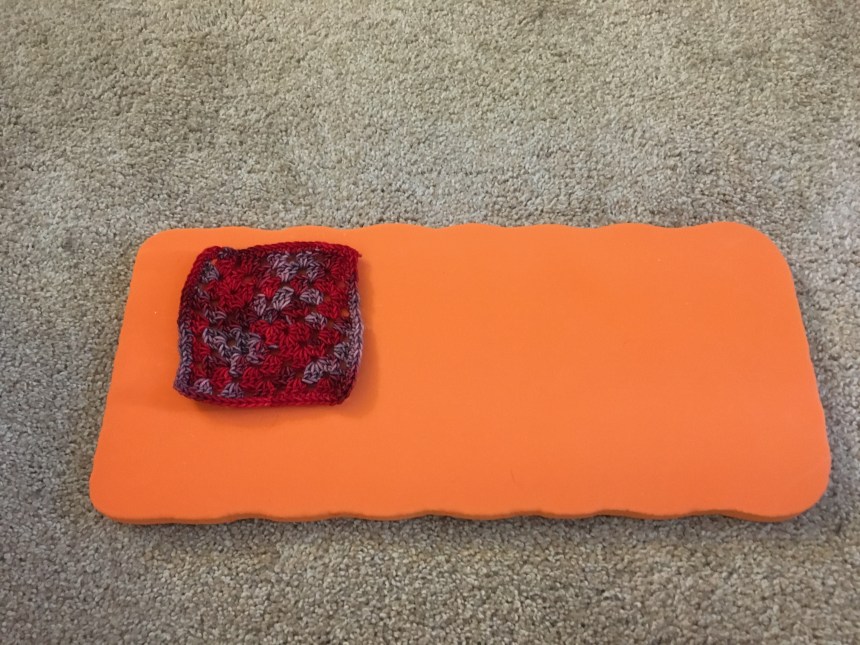
Placing the crocheted/knitted piece on the foam piece. ( In the pic. up top. )

Marking each corner w/the pen. ( Like in the pic up top. )
Step # 2 :
Take the tape and cut out 4 pieces of tape. Then wrap the tape piece around the top/none point part of each stick/skew or all the way down making sure that the point of the stick/skew is not taped. As well as no sticky part of the tape sticking out. That way the tape doesn’t stick to you project and the sticks/skews don’t get slivers of wood on your yarn project
Take the tape piece wrap it around the top/none point part of the stick/skew. (Like the pic. up top.)(or all the way down leaving the point part out.)
Step # 3 :
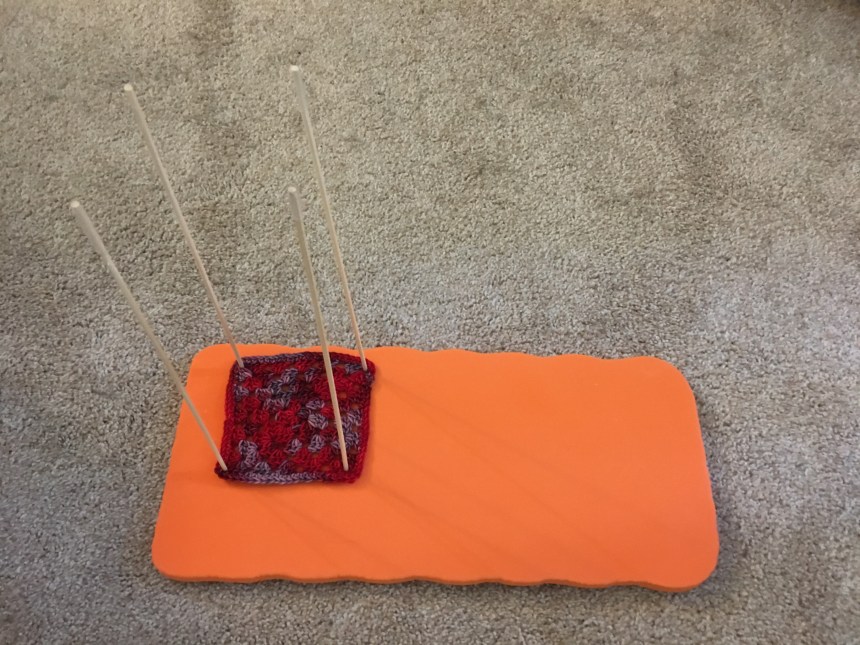
Take each one of the wooden sticks/skews after you tape the top/whole stick poke it into each of the marked corner spots that you made on the foam piece.

Mark the corner spots on the foam piece. ( Like the pic up top. )

This pic. up top is how the foam piece should look w/all 4 wooden stick/skews in it.
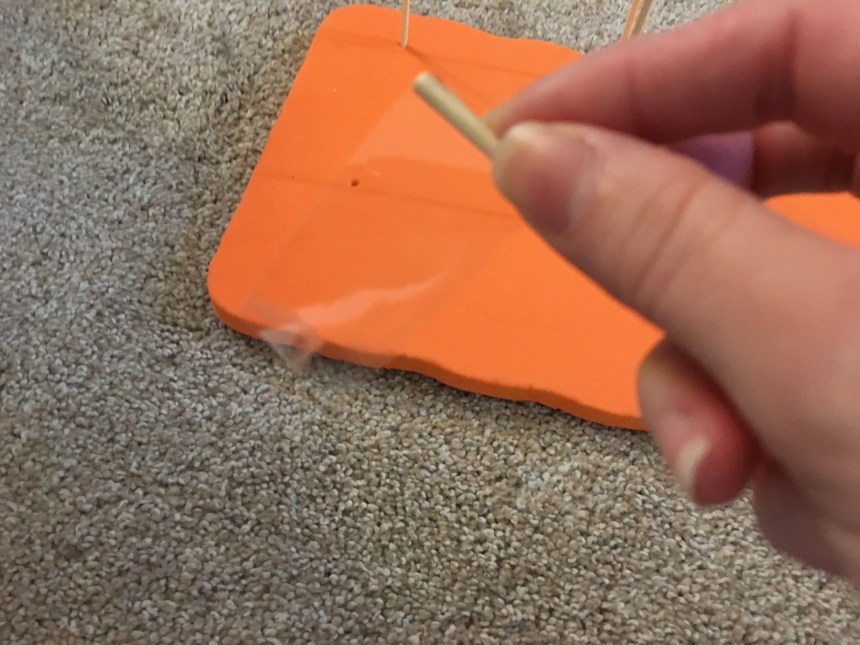
( step# 4 opt.) If you feel that the wooden sticks/skews are moving too much or are not stacking a bunch of knitted/crocheted peace on top of each other or feel the wooden sticks/skews are moving around too much. You can then take some glue put a small dot of glue on each wooden stick/skew (or each marked hole) place the stick back into the hole that you just made on the foam mat. Let the glue dry before placing any yarn projects onto the sticks. That way no glue gets on your yarn project.

You can apply the glue on to each hole like the pic. up top shows or on to each stick. Then put each stick back into the hole a let it dry.
Step # 5 :
Take the knitted/crocheted yarn art project that you are blocking out put each wooden stick/skew into the corners of the yarn project. Then lightly spray the yarn project with water.(unless you did the Pre-soak directions up top in the list of supply’s section under supply # 6 . ) If you are blocking more than one item (ex. squares, triangles, hexagons ) you can stack it on top of the yarn art that you just sprayed w/water. Then lightly spray it w/water.
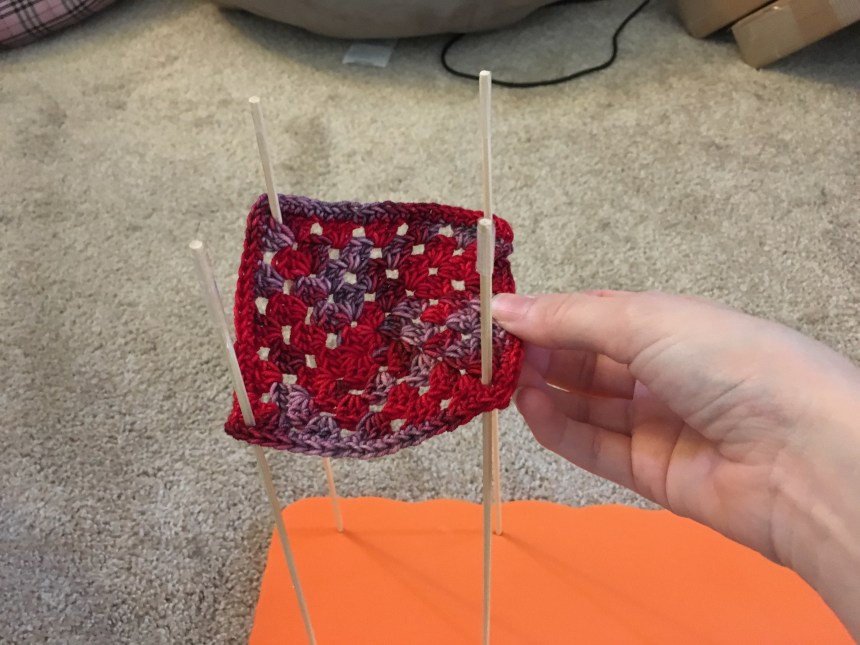
Take the crochet/knitted project put each wooden stick/skew in each corned of the yarn project. ( Like the pic. up top. )
Push the crocheted/knitted project all the way down. ( Like the pic. up top. )
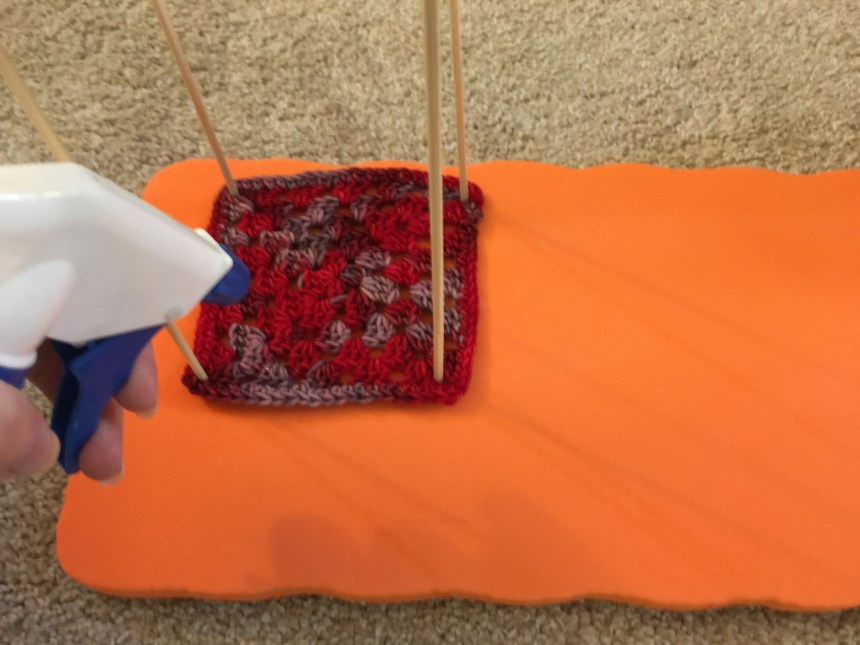
Lightly spray each piece. ( unless you used the pre-soak method directions up top in the supply list under supply # 6 . )
If you’re blocking more than one knitted/crochet piece at a time you can then stack the next piece on top an spray it with water.
step # 6
Take your blocking board put it some place that it will not be disturbed while it is drying. Sometimes it will take a few hours to dry other times 24 hours to dry. Most knitted/crochet projects will be completely dry in 24 hours or less. You will want it completely dry before taking the project off of the wooden sticks/skews . Once dried it is all done being blocked an should look very nice once you take it off of the wooden sticks/skews.
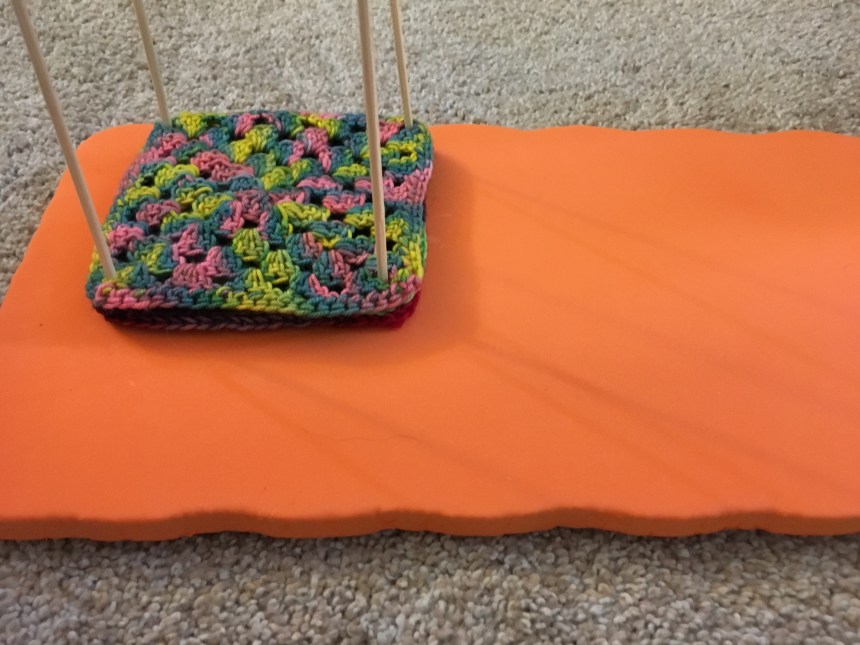
The finished blocked out project/projects should look very nice an the shape/size that you wanted it to be. Like the blocked out piece that is in the pic. down blow does.
Thanks for reading this D.I.Y. project making a mini blocking board in less than 10 min. I hope that you enjoy making this fun D.I.Y. project. As well as enjoy how you finished crocheted/knitted yarn art pieces look all blocked out.
Thank you, Heather @ Painted World Fiber Arts.
